I have Endnote X3 and Office 2008. I’ve written a custom Word .dotx template for APA6 format. It avoids “Normal” paragraph format and bases everything on an alternate base paragraph style called “Paragraph0”. In fact, in order to be able to detect the use of Normal, I’ve redefined it to use Apple Casual and to be colored blue.
Endnote X3 apparently uses styling based on Normal for the inserted bibliography, which is therefore formatted incorrectly. I have defined a “ReferencesEntry” style based on my Paragraph0 that, when I apply it to the inserted bibliography, puts it into the correct format.
I’m wondering what the best way is to handle this: should I redefine Normal? Is there some way to cause Endnote to use a user-written style for the bibliography? I tried to alter Endnote’s .dot template under Application Support, but that didn’t seem to help.
If X4 will be more compatible with Word templates & themes, I guess I can just keep on with restyling the bibliography from time to time.
The only reason for my not wanting to redefine Normal is that as part of my debugging of my Word template, I wanted anything using or based on Normal to show clearly, since that would indicate a gap in coverage. If I redefine Normal, then it and Word styles based on it will look the same as all my other Word styles, which could potentially interfere with maintenance & extension of the Word template.
Incidentally, it is almost possible to fix the bibliography format via the layout pane, which can do font, spacing, and so on. The only thing missing from that is color. I need Text1, but Endnote uses Normal’s color, which I’ve set to System Blue.
There are two functions of Word styles: to make things look a certain way, and to tag chunks of a manuscript as being of such-and-such a type. Even though the layout pane will (almost) make the insertion look right, it will not identify it as “ReferencesEntry” style. So a fully compatible solution would be for inserted bibliographic material to use its own Word styles, like EndNoteBibEntry and EndNoteBibTitle, by default based on Normal, but which could be redefined as desired. (Or so it seems to me FYIW.)
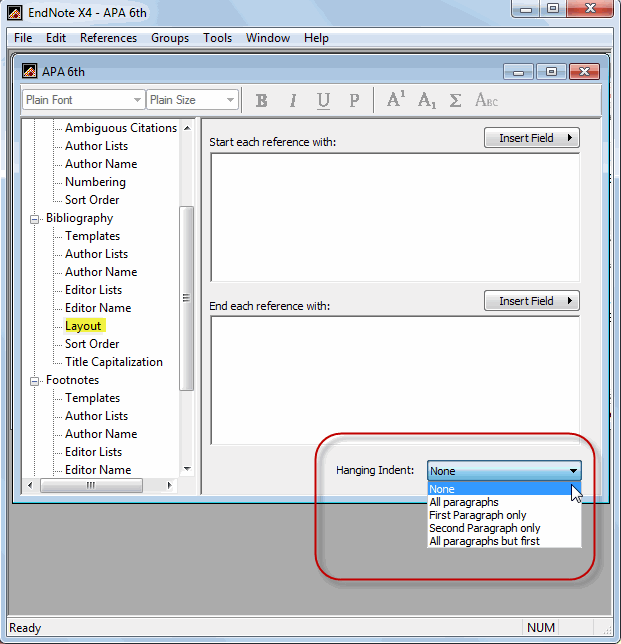
Glad it worked. BTW, the bibiography line spacing setting might be what you’re looking for - it’s accessed through the EndNote tab in the MS Word ribbon (see attached). Click on the tiny arrow to the lower-right of “Bibliography” which will cause the pop-up dialog box to appear. Click the “Layout” tab and the line spacing option is on the lower section. After setting the desired spacing, click OK to close and save the setting.
Thank you, thank you, thank you!
I cannot match the format exactly to my intended word format (here I have to use pt. instead of double line spacing) but it looks much better and is much easier to work with.
Thanks again!